
How to Install a VPN: A Comprehensive Guide
Installing a VPN is a crucial step in enhancing your online privacy, security, and accessing geo-restricted content. The process typically involves selecting a VPN provider, subscribing to a service, downloading the VPN client software or configuring it manually, and then connecting to a server. Each operating system and device might have slight variations, but the fundamental principles remain consistent. This guide will walk you through the installation process for the most common platforms, offering detailed instructions and important considerations for a secure and effective VPN deployment.
Choosing a VPN Provider
Before installation can begin, the selection of a reputable VPN provider is paramount. This decision significantly impacts your VPN experience, affecting speed, security, privacy, and server availability. Consider the following factors when choosing:
- No-Logs Policy: A strict no-logs policy means the VPN provider does not track or store your online activity. This is fundamental for privacy. Look for providers that have undergone independent audits to verify their claims.
- Security Protocols: Modern VPNs utilize robust encryption protocols like OpenVPN, WireGuard, and IKEv2/IPsec. Ensure the provider supports these protocols, as they offer strong security against interception.
- Server Network: A wider network of servers across diverse geographical locations provides more options for bypassing geo-restrictions and finding faster connection speeds by connecting to a server closer to your location or the content you wish to access.
- Speed and Performance: VPNs can sometimes reduce internet speed due to encryption overhead. Look for providers known for their high-speed connections and minimal impact on browsing and streaming. Many offer free trials or money-back guarantees to test this.
- Ease of Use: For most users, an intuitive and user-friendly VPN client is essential. The software should be easy to navigate, with straightforward options for connecting, disconnecting, and changing server locations.
- Customer Support: Reliable customer support is vital in case of installation issues or technical difficulties. Look for providers offering 24/7 live chat, email support, or extensive knowledge bases.
- Pricing and Payment Options: VPN services vary in price. Consider your budget and the features offered. Look for transparent pricing and secure payment methods.
- Simultaneous Connections: If you need to protect multiple devices, check the number of simultaneous connections allowed per subscription.
Once you’ve identified a suitable VPN provider, proceed to their website to subscribe to a plan. This typically involves creating an account and making a payment. After successful subscription, you will usually be prompted to download the VPN client software for your specific operating system.
Installing a VPN on Windows
Windows is the most prevalent desktop operating system, and installing a VPN on it is generally a straightforward process.
- Download the VPN Client: After subscribing to your chosen VPN service, navigate to the "Downloads" or "Apps" section of their website. Locate and download the Windows client installer. This will typically be an
.exefile. - Run the Installer: Once the download is complete, locate the downloaded
.exefile (usually in your "Downloads" folder) and double-click it to launch the installation wizard. - Follow the On-Screen Prompts: The installer will guide you through the process. You’ll likely encounter prompts asking you to:
- Accept the License Agreement: Read and agree to the terms and conditions.
- Choose an Installation Location: The default location is usually acceptable, but you can change it if desired.
- Create Desktop Shortcuts: You can opt to create shortcuts for easier access.
- Install Additional Components: Some VPNs might offer optional components, but for basic installation, the defaults are usually sufficient.
- Grant Permissions: During the installation, Windows User Account Control (UAC) might pop up asking for permission to make changes to your device. Click "Yes" to proceed.
- Complete Installation: Once the installation is finished, the wizard will typically inform you. You may have an option to launch the VPN application immediately.
- Launch and Log In: Open the VPN client application. You will be prompted to enter the username and password you created during the subscription process.
- Connect to a Server: After logging in, the VPN client will usually present a user-friendly interface. You’ll see a list of available server locations. Select a country or a specific city and click the "Connect" button. The client will establish a secure VPN tunnel.
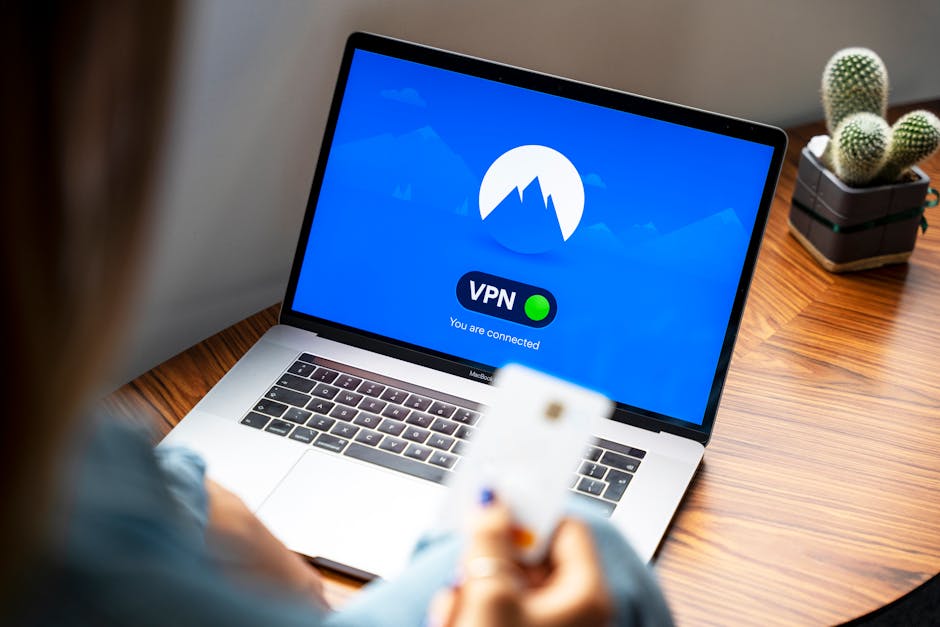
- Verify Connection: The VPN client interface will typically indicate when you are connected. You may also see a system tray icon that changes color or displays a connected status. To further verify, you can visit a website like "whatismyipaddress.com" to see if your IP address has changed to reflect the server location you’ve connected to.
Installing a VPN on macOS
Installing a VPN on a Mac is equally user-friendly, mirroring the Windows process closely.
- Download the VPN Client: Visit your VPN provider’s website and download the macOS client application. This will usually be a
.dmgfile. - Open the Disk Image: Locate the downloaded
.dmgfile and double-click it. This will mount a virtual disk image containing the VPN application. - Drag and Drop Installation: A window will appear, typically showing the VPN application icon and a link to the "Applications" folder. Drag the VPN application icon into the "Applications" folder.
- Launch the VPN Application: Navigate to your "Applications" folder and double-click the VPN application to launch it.
- Grant Permissions: The first time you launch the application, macOS will likely present security prompts asking for permission to open an application downloaded from the internet. Click "Open." You may also be asked to grant permissions for network access.
- Log In: Enter your VPN account credentials (username and password).
- Connect to a Server: Select your desired server location from the client’s interface and click the "Connect" button.
- Verify Connection: The application will indicate a successful connection. You can confirm by checking your IP address online.
Installing a VPN on Android
For Android devices, VPN installation is primarily done through the Google Play Store.
- Open the Google Play Store: On your Android device, find and open the Google Play Store app.
- Search for the VPN App: In the search bar, type the name of your VPN provider.
- Install the App: Locate the official VPN app from your provider and tap "Install."
- Open the VPN App: Once the installation is complete, tap "Open" or find the app icon in your app drawer.
- Log In: Enter your VPN account credentials.
- Grant VPN Permissions: The first time you attempt to connect, Android will prompt you to allow the VPN app to set up a VPN connection. Tap "OK" or "Allow." This is a standard Android security feature.
- Connect to a Server: Choose your desired server location from the app’s interface and tap the "Connect" button.
- Verify Connection: A VPN icon (usually a key or shield) will appear in your notification bar, indicating an active VPN connection.
Installing a VPN on iOS (iPhone/iPad)
Similar to Android, installing a VPN on iOS devices is done via the App Store.
- Open the App Store: On your iPhone or iPad, find and open the App Store app.
- Search for the VPN App: In the search bar, type the name of your VPN provider.
- Download the App: Locate the official VPN app and tap the "Get" button, then authenticate with your Apple ID (Face ID, Touch ID, or password).
- Open the VPN App: Once downloaded, tap "Open" or find the app icon on your home screen.
- Log In: Enter your VPN account credentials.
- Allow VPN Configuration: iOS will ask for permission to add VPN configurations to your device. Tap "Allow." You may need to enter your device passcode to confirm.
- Connect to a Server: Select your preferred server location within the app and tap the "Connect" button.
- Verify Connection: A "VPN" icon will appear in the status bar at the top of your screen, indicating an active VPN connection.
Manual VPN Configuration (Advanced Users)
While VPN client applications are the easiest and most common method, some users may prefer or require manual configuration, especially for devices that don’t support dedicated apps (e.g., some routers, smart TVs, or older operating systems). This typically involves using the built-in VPN client on your operating system and importing configuration files provided by your VPN service. The most common protocols for manual configuration are OpenVPN and L2TP/IPsec.
Manual OpenVPN Configuration:
- Download OpenVPN Client: Download the OpenVPN client software for your operating system from the official OpenVPN website.
- Obtain Configuration Files: Your VPN provider will offer downloadable OpenVPN configuration files (
.ovpnfiles) for each server location. Download these files. - Import Configuration Files:
- Windows: Open the OpenVPN GUI. Right-click the icon in the system tray and select "Import File." Browse to your downloaded
.ovpnfiles and select them. - macOS: Install Tunnelblick, a free OpenVPN client for macOS, and drag and drop the
.ovpnfiles into the Tunnelblick icon.
- Windows: Open the OpenVPN GUI. Right-click the icon in the system tray and select "Import File." Browse to your downloaded
- Connect: Right-click the OpenVPN icon in the system tray (Windows) or select the configuration from Tunnelblick (macOS) and click "Connect." You will likely be prompted for your VPN username and password.
Manual L2TP/IPsec Configuration:
This method is often built into operating systems.
- Gather VPN Details: You will need the VPN server address, your VPN username, your VPN password, and a Pre-Shared Key (PSK) – all provided by your VPN service.
- Windows:
- Go to "Settings" > "Network & Internet" > "VPN."
- Click "Add a VPN connection."
- Fill in the details:
- VPN provider: "Windows (built-in)"
- Connection name: A name of your choice.
- Server name or address: The server address from your VPN provider.
- VPN type: "L2TP/IPsec with pre-shared key"
- Pre-shared key: Enter the PSK.
- Type of sign-in info: "Username and password"
- Username and Password: Your VPN credentials.
- Click "Save."
- To connect, click on the VPN connection in the network flyout menu and click "Connect."
- macOS:
- Go to "System Preferences" > "Network."
- Click the "+" button to add a new network interface.
- Interface: "VPN"
- VPN Type: "L2TP over IPsec"
- Service Name: A name of your choice.
- Click "Create."
- In the "Server Address" field, enter the server address.
- In the "Account Name" field, enter your username.
- Click "Authentication Settings…"
- Enter your password and the Shared Secret (PSK).
- Click "OK" and then "Apply."
- To connect, select the VPN service and click "Connect."
Router-Level VPN Installation
For advanced users who want to protect all devices on their home network without installing individual VPN clients, installing a VPN on a router is an option. This requires a compatible router (one that supports VPN client functionality) and a more technical setup.
- Check Router Compatibility: Ensure your router supports VPN client configurations (often OpenVPN or WireGuard).
- Obtain VPN Configuration: Download the necessary configuration files from your VPN provider for your router. This might be
.ovpnfiles or specific router firmware. - Access Router Interface: Log in to your router’s web-based administration interface using its IP address (e.g., 192.168.1.1).
- Navigate to VPN Settings: Locate the VPN client settings within your router’s firmware.
- Upload Configuration: Upload the
.ovpnfile or manually enter the VPN details (server address, credentials, protocol, encryption settings) as per your router’s instructions. - Connect: Save the settings and initiate the VPN connection.
- Verify: All devices connected to your router will now be routed through the VPN.
Post-Installation Checks and Best Practices
After successfully installing and connecting to your VPN, performing a few checks ensures it’s functioning correctly and optimally.
- IP Address Check: As mentioned, visit a website like "whatismyipaddress.com" or "ipleak.net" to confirm your public IP address has changed and matches the location of the VPN server you’ve connected to.
- DNS Leak Test: Visit "dnsleaktest.com" to ensure your Domain Name System (DNS) requests are not being leaked outside the VPN tunnel, which could reveal your real location. Most good VPN clients have built-in DNS leak protection.
- WebRTC Leak Test: WebRTC can sometimes reveal your real IP address. Websites like "browserleaks.com/webrtc" can help identify these leaks. Many VPNs offer browser extensions or settings to prevent WebRTC leaks.
- Enable Kill Switch: Most VPN clients offer a "kill switch" feature. This automatically disconnects your internet connection if the VPN connection drops unexpectedly, preventing your real IP address from being exposed. Ensure this feature is enabled and configured correctly.
- Auto-Connect: For continuous protection, configure your VPN client to automatically connect to a server whenever your device starts up or connects to a network.
- Choose the Right Server: For the best speeds, connect to a server geographically close to your location. For accessing geo-restricted content, choose a server in the country where the content is available.
- Regularly Update: Keep your VPN client software and operating system updated to ensure you have the latest security patches and features.
By following these comprehensive steps, you can effectively install a VPN on various devices, bolstering your online security and privacy.


Leave a Reply